|
|
3 years ago | |
|---|---|---|
| assets | 3 years ago | |
| src | 3 years ago | |
| views | 3 years ago | |
| .gitignore | 3 years ago | |
| LICENSE | 3 years ago | |
| README.md | 3 years ago | |
| package.json | 3 years ago | |
| postcss.config.js | 3 years ago | |
| tailwind.config.js | 3 years ago | |
| tsconfig.json | 3 years ago | |
| webpack.mix.js | 3 years ago | |
README.md
DICK (Directly Integrated Client for Keisters)
The main repository for DICK, an ASS front end
Report Bug
·
Request Feature
Table of Contents
About The Project
Dick was created to be an easy to use front end for Ass as there was no public option to allow users to view their saved images on their server. I decided to learn tailwind and also at the same time build this. I did this all in my spare time, and will keep updating as best as I can while I use it. I'm still learning all this so if anyone has suggestions on how to do things better, I am all ears! I love learning! :)
Current Feautres:
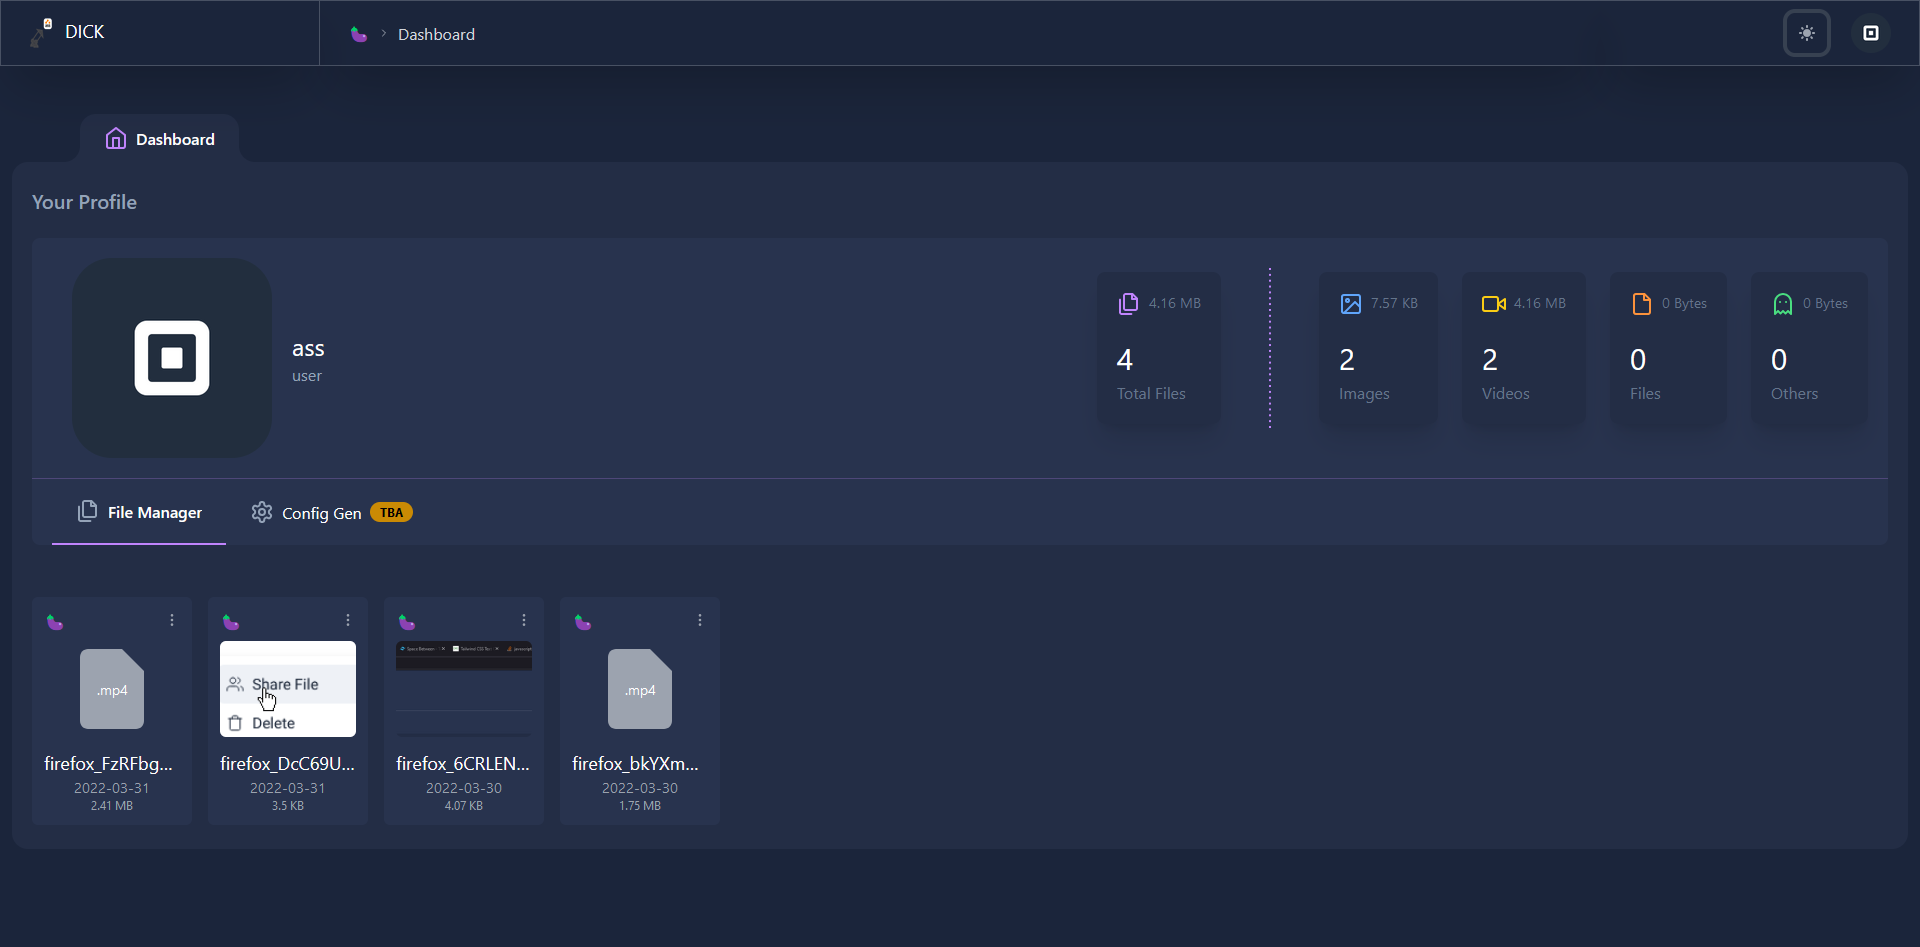
- General statistics on your file uploads
- File browser, allows you to see all your uploads on one webpage (plans to make it more powerful)
- Deletion of items (currently one at a time, plans for multiple at once)
- Copy link of items (currently one at a time, plans for multiple with spaces in between in pastebin)
Planned Feautres:
- There are a lot of good ideas out there, to keep track of what is currently planned see the v1.1 project board
The front end is built using Tailwind CSS, Lucide Icons, as well as hand crafted components all templated using EJS. I plan to eventually rewrite this in React.
The back end is written in Typescript, utilizing expressJS.
Running The Dashboard
Running DICK is very simple, though there is no docker container.
You must have Node >=v16.14.0, which you should if you're running ASS.
Config
Inside of your dick root folder, you will see src/CONSTANTS.ts.example. Copy this to CONSTANTS.ts
Inside this file, is some basic configuration you can change for your set up. There are only 5 variables you need to worry about in this file:
| Variable | Description |
|---|---|
DICK_SUBMODULE = false |
Put this to true if you wish to run DICK as an ASS submoduke, false if seperate |
ASS_LOCATION = "../ass" |
If running DICK seperately, DICK will use this to find your ASS install folder |
ASS_SECURE = false |
Put this to true if you are running ASS behind a domain with HTTPS,. false if HTTP |
ASSDOMAIN = "127.0.0.1:40115" |
Put this to your ASS domain. Can be an ip, or domain for example https://cdn.mydomain.com |
STAFF_IDS = ["ass"] |
Change this to whatever your username is in your ASS auth.json file. Default user in ASS, is ass |
PORT = "3000" |
Change this number to the port you wish DICK to run on |
Running
Development
Open to view the development set up steps
- Create a folder, call it whatever you wish
- Install, and run ASS https://github.com/tycrek/ass#installation (This will create an
assfolder) - Go back into the folder you created and clone this repo
git clone https://github.com/Facinorous-420/dick - Go into the newly created
dickfoldercd dick - Go into
/srcand copyCONSTANTS.ts.exampletoCONSTANTS.tsand edit it as needed - Go back to the root of
dickand install the dependancies for the frontend,npm i - Run
npm run build:devto compile the code base in watch mode - In a new terminal, run
npm run serve:devto run DICK using nodemon
⚠️ASS will be running under it's port of 40115 whereas the dashboard will be under the port 3000.
Production
Open to view the production set up steps
- Create a folder, call it whatever you wish
- Install, and run ASS https://github.com/tycrek/ass#installation (This will create an
assfolder) - Go back into the folder you created and clone this repo
git clone https://github.com/Facinorous-420/dick.git - Go into the newly created
dickfoldercd dick - Go into
/srcand copyCONSTANTS.ts.exampletoCONSTANTS.tsand edit it as needed - Go back to the root of
dickand install the dependancies for the frontend,npm i - Run
npm startto compile the code base and run DICK
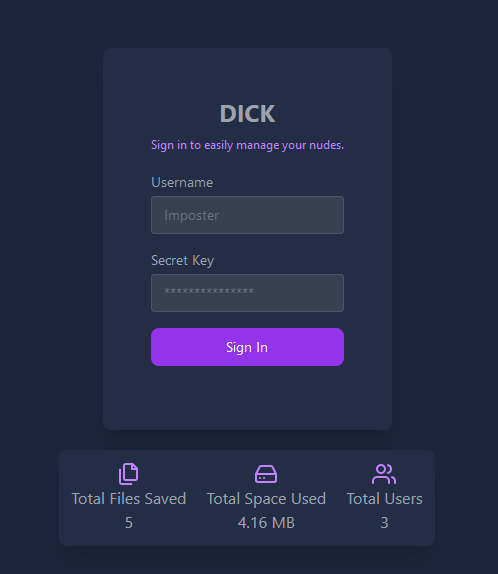
When you approach the login screen, your secret key is the key generated for your account. You should not share this with anyone.
⚠️ASS and the dashboard will be under their own ports.
They will have entirely different routing. This means you can use two different domains for each, such as cdn.yourdomain.com for ASS and dashboard.yourdomain.com for DICK.
Open to view the set up steps to run this as a submodule to ass
Preface: You need to edit /src/CONSTANTS.ts's variable of DICK_SUBMODULE to true
-
Setup ASS https://github.com/tycrek/ass#installation For when it asks for name of front end, leave as
ass-x(default) for now. -
Add this repo as a submodule into ASS
git submodule add https://github.com/Facinorous-420/dick -
Go into the frontend's directory,
cd dick, and rungit submodule update --init --recursiveto initiaze it -
Install the dependancies for the frontend,
npm i -
Run
npm run buildto compile the frontend and get it ready to run -
Then move to the ASS directory and run the ASS setup again
npm run setup -
Leave everything as you did prior, but this time under
frontend name, typedickand continue -
Go into the
.gitmodulesfile, and youll notice two submodules. Remove the[submodule "ass-x"] path = ass-x url = git@github.com:tycrek/ass-x.gitsubmodule so only the
[submodule "dick"]
  path = dick
  url = https://github.com/Facinorous-420/dick
one is left
-
Run
npm run buildto recompile this change -
You can run ASS,
npm startor however you normally run your ass instance
Contributing
If using VSCode, I'd recommend using this extension: https://marketplace.visualstudio.com/items?itemName=GitHub.vscode-pull-request-github
- Fork the Project
- Create your Feature Branch (
git checkout -b feature/AmazingFeature) - Commit your Changes (
git commit -m 'Add some AmazingFeature') - Push to the Branch (
git push origin feature/AmazingFeature) - Open a Pull Request
Contact
| Developer | Job |
|---|---|
| Facinorous | Lead |
| Sublime#4233 | Helping hand, my sensei, created the back end |

