17 KiB
Scrutiny <-> SmartMonTools
Scrutiny uses smartctl --scan to detect devices/drives. If your devices are not being detected by Scrutiny, or some
data is missing, this is probably due to a smartctl issue.
The following page will document commonly asked questions and troubleshooting steps for the Scrutiny S.M.A.R.T. data collector.
WWN vs Device name
As discussed in #117, /dev/sd* device paths are ephemeral.
Device paths in Linux aren't guaranteed to be consistent across restarts. Device names consist of major numbers (letters) and minor numbers. When the Linux storage device driver detects a new device, the driver assigns major and minor numbers from the available range to the device. When a device is removed, the device numbers are freed for reuse.
The problem occurs because device scanning in Linux is scheduled by the SCSI subsystem to happen asynchronously. As a result, a device path name can vary across restarts.
While the Docker Scrutiny collector does require devices to attached to the docker container by device name (using --device=/dev/sd..), internally
Scrutiny stores and references the devices by their WWN which is globally unique, and never changes.
As such, passing devices to the Scrutiny collector container using /dev/disk/by-id/, /dev/disk/by-label/, /dev/disk/by-path/ and /dev/disk/by-uuid/
paths are unnecessary, unless you'd like to ensure the docker run command never needs to change.
Force /dev/disk/by-id paths
Since Scrutiny uses WWN under the hood, it really doesn't care about /dev/sd* vs /dev/disk/by-id/. The problem is the interaction between docker and smartmontools when using --device /dev/disk/by-id paths.
Basically Scrutiny offloads all device detection to smartmontools, which doesn't seem to detect devices that have been passed into the docker container using /dev/disk/by-id paths.
If you must use "static" device references, you can map the host device id/uuid/wwn references to device names within the container:
# --device=<Host Device>:<Container Device Mapping>

docker run ....
--device=/dev/disk/by-id/wwn-0x5000xxxxx:/dev/sda
--device=/dev/disk/by-id/wwn-0x5001xxxxx:/dev/sdb
--device=/dev/disk/by-id/wwn-0x5003xxxxx:/dev/sdc
...
Device Detection By Smartctl
The first thing you'll want to do is run smartctl locally (not in Docker) and make sure the output shows all your drives as expected.
See the Drive Types section below for what this output should look like for NVMe/ATA/RAID drives.
smartctl --scan

/dev/sda -d scsi # /dev/sda, SCSI device
/dev/sdb -d scsi # /dev/sdb, SCSI device
/dev/sdc -d scsi # /dev/sdc, SCSI device
/dev/sdd -d scsi # /dev/sdd, SCSI device
Once you've verified that smartctl correctly detects your drives, make sure scrutiny is correctly detecting them as well.
NOTE: make sure you specify all the devices you'd like scrutiny to process using
--device=flags.
docker run -it --rm \
  -v /run/udev:/run/udev:ro \
  --cap-add SYS_RAWIO \
  --device=/dev/sda \
  --device=/dev/sdb \
  ghcr.io/analogj/scrutiny:master-collector smartctl --scan
If the output is the same, your devices will be processed by Scrutiny.
Collector Config File
In some cases --scan does not correctly detect the device type, returning incomplete SMART data.
Scrutiny will supports overriding the detected device type via the config file.
RAID Controllers (Megaraid/3ware/HBA/Adaptec/HPE/etc)
Smartctl has support for a large number of RAID controllers, however this support is not automatic, and may require some additional device type hinting. You can provide this information to the Scrutiny collector using a collector config file. See example.collector.yaml
NOTE: If you use docker, you must pass though the RAID virtual disk to the container using
--device(see below)This device may be in
/dev/*or/dev/bus/*. If you do not see a virtual device file/dev/bus/*you may need to use the--privilegedflag. See #366 for more infoIf you're unsure, run
smartctl --scanon your host, and pass all listed devices to the container.
# /opt/scrutiny/config/collector.yaml
devices:
  # Dell PERC/Broadcom Megaraid example: https://github.com/AnalogJ/scrutiny/issues/30
  - device: /dev/bus/0
    type:
      - megaraid,14
      - megaraid,15
      - megaraid,18
      - megaraid,19
      - megaraid,20
      - megaraid,21

  - device: /dev/twa0
    type:
      - 3ware,0
      - 3ware,1
      - 3ware,2
      - 3ware,3
      - 3ware,4
      - 3ware,5

  # Adapec RAID: https://github.com/AnalogJ/scrutiny/issues/189
  - device: /dev/sdb
    type:
      - aacraid,0,0,0
      - aacraid,0,0,1

  # HPE Smart Array example:  https://github.com/AnalogJ/scrutiny/issues/213
  - device: /dev/sda
    type:
      - 'cciss,0'
      - 'cciss,1'
NVMe Drives
As mentioned in the README.md, NVMe devices require both --cap-add SYS_RAWIO and --cap-add SYS_ADMIN
to allow smartctl permission to query your NVMe device SMART data #26
When attaching NVMe devices using --device=/dev/nvme.., make sure to provide the device controller (/dev/nvme0)
instead of the block device (/dev/nvme0n1). See #209.
The character device /dev/nvme0 is the NVME device controller, and block devices like /dev/nvme0n1 are the NVME storage namespaces: the devices you use for actual storage, which will behave essentially as disks.
In enterprise-grade hardware, there might be support for several namespaces, thin provisioning within namespaces and other features. For now, you could think namespaces as sort of meta-partitions with extra features for enterprise use.
ATA
USB Devices
The following information is extracted from #266
External HDDs support two modes of operation usb-storage (old, slower, stable) and uas (new, faster, sometimes unstable) . On some external HDDs, uas mode does not properly pass through SMART information, or even causes hardware issues, so it has been disabled by the kernel. No amount of smartctl parameters will fix this, as it is being rejected by the kernel. This is especially true with Seagate HDDs. One solution is to force these devices into usb-storage mode, which will incur some performance penalty, but may work well enough for you. More info:
- https://smartmontools.org/wiki/Supported_USB-Devices
- https://smartmontools.org/wiki/SAT-with-UAS-Linux
- https://forums.raspberrypi.com/viewtopic.php?t=245931
Exit Codes
If you see an error message similar to smartctl returned an error code (2) while processing /dev/sda, this means that
smartctl (not Scrutiny) exited with an error code. Scrutiny will attempt to print a helpful error message to help you
debug, but you can look at the table (and associated links) below to debug smartctl.
smartctl Return Values The return values of smartctl are defined by a bitmask. If all is well with the disk, the return value (exit status) of smartctl is 0 (all bits turned off). If a problem occurs, or an error, potential error, or fault is detected, then a non-zero status is returned. In this case, the eight different bits in the return value have the following meanings for ATA disks; some of these values may also be returned for SCSI disks.
source: http://www.linuxguide.it/command_line/linux-manpage/do.php?file=smartctl#sect7
| Exit Code (Isolated) | Binary | Problem Message |
|---|---|---|
| 1 | Bit 0 | Command line did not parse. |
| 2 | Bit 1 | Device open failed, or device did not return an IDENTIFY DEVICE structure. |
| 4 | Bit 2 | Some SMART command to the disk failed, or there was a checksum error in a SMART data structure (see В´-bВ´ option above). |
| 8 | Bit 3 | SMART status check returned “DISK FAILING". |
| 16 | Bit 4 | We found prefail Attributes <= threshold. |
| 32 | Bit 5 | SMART status check returned “DISK OK” but we found that some (usage or prefail) Attributes have been <= threshold at some time in the past. |
| 64 | Bit 6 | The device error log contains records of errors. |
| 128 | Bit 7 | The device self-test log contains records of errors. |
Standby/Sleeping Disks
Disks in Standby/Sleep can also cause smartctl to exit abnormally, usually with exit code: 2.
Volume Mount All Devices (/dev) - Privileged
WARNING: This is an insecure/dangerous workaround. Running Scrutiny (or any Docker image) with
--privilegedis equivalent to running it with root access.
If you have exhausted all other mechanisms to get your disks working with smartctl running within a container, you can try running the docker image with the following additional flags:
--privileged(instead of--cap-add) - this gives the docker container full access to your system. Scrutiny does not require this permission, however it can be helpful forsmartctl-v /dev:/dev:ro(instead of--device) - this mounts the/devfolder (containing all your device files) into the container, allowingsmartctlto see your disks, exactly as if it were running on your host directly.
With this workaround your docker run command would look similar to the following:
docker run -it --rm -p 8080:8080 -p 8086:8086 \
  -v `pwd`/scrutiny:/opt/scrutiny/config \
  -v `pwd`/influxdb2:/opt/scrutiny/influxdb \
  -v /run/udev:/run/udev:ro \
  --privileged \
  -v /dev:/dev \
  --name scrutiny \
  ghcr.io/analogj/scrutiny:master-omnibus
Scrutiny detects Failure but SMART Passed?
There's 2 different mechanisms that Scrutiny uses to detect failures.
The first is simple SMART failures. If SMART thinks an attribute is in a failed state, Scrutiny will display it as failed as well.
The second is using BackBlaze failure data: https://backblaze.com/blog-smart-stats-2014-8.html If Scrutiny detects that an attribute corresponds with a high rate of failure using BackBlaze's data, it will also mark that attribute (and disk) as failed (even though SMART may think the device is still healthy).
This can cause some confusion when comparing Scrutiny's dashboard against other SMART analysis tools. If you hover over the "failed" label beside an attribute, Scrutiny will tell you if the failure was due to SMART or Scrutiny/BackBlaze data.
Device failed but Smart & Scrutiny passed
Device SMART results are the source of truth for Scrutiny, however we don't just take into account the current SMART results, but also historical analysis of a disk. This means that if a device is marked as failed at any point in its history, it will continue to be stored in the database as failed until the device is removed (or status is reset -- see below).
In some cases, this historical failure may have been due to attribute analysis/thresholds that have since been relaxed:
- NVME - Numb Error Log Entries (v0.4.7)
- ATA - Power Cycle Count (v0.4.7)
- ATA - Read Error Rate (v0.4.13)
- ATA - Seek Error Rate (v0.4.13)
If you'd like to reset the status of a disk (to healthy) and allow the next run of the collector to determine the actual status, you can run the following command:
# connect to scrutiny docker container
docker exec -it scrutiny bash

# install sqlite CLI tools (inside container)
apt update && apt install -y sqlite3

# connect to the scrutiny database
sqlite3 /opt/scrutiny/config/scrutiny.db

# reset/update the devices table, unset the failure status.
UPDATE devices SET device_status = null;

# exit sqlite CLI
.exit
Seagate Drives Failing
As thoroughly discussed in #255, Seagate (Ironwolf & others) drives are almost always marked as failed by Scrutiny.
The
Seek Error Rate&Read Error Rateattribute raw values are typically very high, and the normalised values (Current / Worst / Threshold) are usually quite low. Despite this, the numbers in most cases are perfectly OKThe anxiety arises because we intuitively expect that the normalised values should reflect a "health" score, with 100 being the ideal value. Similarly, we would expect that the raw values should reflect an error count, in which case a value of 0 would be most desirable. However, Seagate calculates and applies these attribute values in a counterintuitive way.
http://www.users.on.net/~fzabkar/HDD/Seagate_SER_RRER_HEC.html
Some analysis has been done which shows that Seagate drives break the common SMART conventions, which also causes Scrutiny's comparison against BackBlaze data to detect these drives as failed.
So what's the Solution?
After taking a look at the BackBlaze data for the relevant Attributes (Seek Error Rate & Read Error Rate), I've decided
to disable Scrutiny analysis for them. Both are non-critical, and have low-correlation with failure.
Please note: SMART failures for these attributes will still cause the drive to be marked as failed. Only BackBlaze analysis has been disabled
If this is effecting your drives, you'll need to do the following:
- Upgrade to v0.4.13+
- Reset your drive status using the SQLite script in #device-failed-but-smart--scrutiny-passed
- Wait for (or manually start) the collector.
If you'd like to learn more about how the Seagate Ironwolf SMART attributes work under the hood, and how they differ from other drives, please read the following:
- http://www.users.on.net/~fzabkar/HDD/Seagate_SER_RRER_HEC.html
- https://www.truenas.com/community/threads/seagate-ironwolf-smart-test-raw_read_error_rate-seek_error_rate.68634/
Hub & Spoke model, with multiple Hosts.
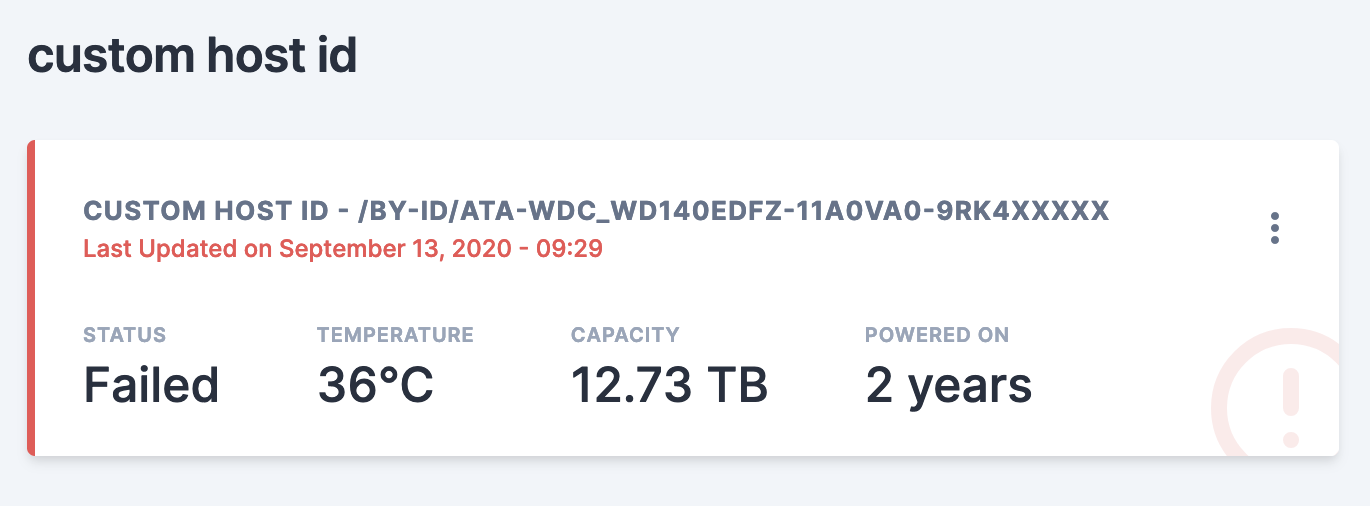
When deploying Scrutiny in a hub & spoke model, it can be difficult to determine exactly which node a set of devices are
associated with.
Thankfully the collector has a special --host-id flag (or COLLECTOR_HOST_ID env variable) that can be used to
associate devices with a friendly host name.
The host-id is passed from the collector to the web-api when SMART device data is uploaded. There's 3 ways you can set the host-id:
- using the collector config file: master/example.collector.yaml#L19-L22
- using the
--host-idcollector CLI argument: master/collector/cmd/collector-metrics/collector-metrics.go#L180-L185 - using the
COLLECTOR_HOST_IDenvironmental variable.
See the docs/INSTALL_HUB_SPOKE.md guide for more information.
Collector DEBUG mode
You can use environmental variables to enable debug logging and/or log files for the collector:
DEBUG=true
COLLECTOR_LOG_FILE=/tmp/collector.log
Or if you're not using docker, you can pass CLI arguments to the collector during startup:
scrutiny-collector-metrics run --debug --log-file /tmp/collector.log
Collector trigger on startup
When the omnibus docker image starts up, it will automatically trigger the collector, which will populate the Scrutiny
Webui with your disks.
This is not the case when running the collector docker image in hub/spoke mode, as the collector and webui are
running in different containers (and potentially different host machines), so
the web container may not be ready for incoming connections. By default the container will only run the collector at the
time specified in the cron schedule.
You can force the collector to run on startup using the following env variables:
-e COLLECTOR_RUN_STARTUP=true- forces the collector to run on startup (cron will be started after the collector completes)-e COLLECTOR_RUN_STARTUP_SLEEP=10- ifCOLLECTOR_RUN_STARTUPis enabled, you can use this env variable to configure the delay before the collector is run (default:1second). Used to ensure the web container has started successfully.